Wireless Sensor Network integration to cloud service for data sharing
The basic idea of the prototype is to implement the basic concept of the Internet of
Things with a basic application are specified as an example. In the prototype implemented, I adopted the concept of a smart home to be the basic building block to implement the idea. In general, a smart home can include some kind of various types of sensors, which collect any type of data and connected to a coordinator as a gateway to be in turn connected to the Internet. In the implementation, I used temperature, and humidity sensing as an example of the data collected, these data according to the previous sections taking about the Wireless sensor networks (WSN), are goatherd via a coordinator unit to share it somewhere on the Internet, either a private hosting or a
Cloud service.
The project is composed of three layers:
The Model is an implementation of the wireless sensor network can form one of basic three networks:
- Mesh network
- Star network
- Mesh Star hybrid network
Coordinator Layer
The coordinator layer consists of A wi-Fi module powered as a stand-alone unit. works as a station and access point, in turn, itself, is connected to the Internet via another access point, and it would be any type of APs as a hotspot mobile access point or a home router.
Supervision Layer
Consists of a laptop and a Mobile device connected both to the
Internet, and to the cloud platform.
Modules and Tools:
The main controllers in the circuit are the WiFi modules, they are basically considered as MCU micro control units, as we will see in the next subsections.
Main modules:
2* Wi-Fi module ESP8266-01
1* DHT11 Temperature humidity sensor
1* PDU (Power Distribution Unit)
Different sizes of pin headers wires
Preparations
Now before we get ready to start programming the ESP-01 module, the Esp-01 has some preparations to set up before the programming process.
1.the spaces between the ESP-01 pins are 2mm
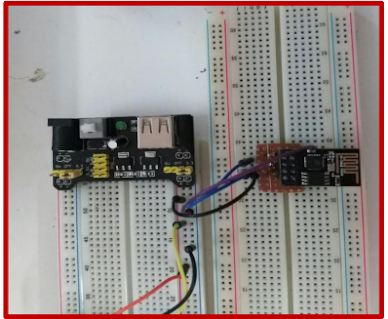
So for a solution, I built an adaptor to make it adjustable on the breadboard.
2.Second issue is the TTL is 3.3V and our computer voltage level is 5V so it needs conversion to rise up the voltage from 3.3V-5V. We can accomplish this using USB-TTL.
Programming Process
Since I had two ESPs, my target was to effectuate the layers, as previously mentioned before
in last sections. The first layer was the sensor layer, an ESP-01 connected to the DHT11
sensor. The DHT11 has three pins, (VCC, GND,& Signal).
The DHT11 connection with the ESP-01 is as follows:
- VCC- to ESP-01 VCC to 3.3V
- GND- to GND
- Signal pin - to GPIO-02 of ESP
First, to effectuate the first layer, I considered the first ESP-01 as a Client, since its goal is to send the data collected to the cloud platform.
Using the Arduino IDE the effective function used was:
The function for setting the station mode:
WiFi.mode(WIFI_STA);
The Function for determining whether the station is connected to the access point:
WiFi.connect(WL_CONNECTED);
Returns true when connected.
Defining Internet Parameters The Network, the ESP will be connected to
const char* WLAN_SSID = "ESP-AP";
const char* WLAN_PASS = "22446688";
IPAddress ip = localIP() ;
IPAddress gateway = (192,168,0,1);
IPAddress subnet = (255,255,255,0);
const char* hostName = "http://192.168.0.104";
check it on :
The WiFi model is Station and Access point. The main idea behind making it station then
Access-point is to receive the data on a local host then pass it to the cloud API.
The operation in a pic can be presented with a client-server process.
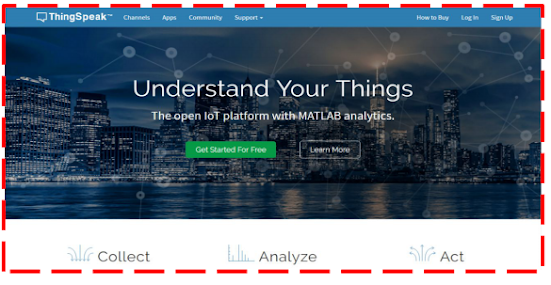
Finally configuring the IoT platform to receive my data: The IoT platform I chose is Thingspeak because it's easy to work with actually.
The IoT platform is an open platform for the internet of things. Uses the MATLAB analysis to
analysis the data you collected,then share it to the cloud.The steps are very simple to use
the platform,The same as using the SaaS in the cloud layer.
1.You sign up with a valid e-mail and a password.
2.Create a channel on which the data will be analyzed.
3.Set up the variables with time ,and the scale for each parameter.


No comments:
Post a Comment
Don't miss the Blogger, contact them :)